Mountain Shooter Sling
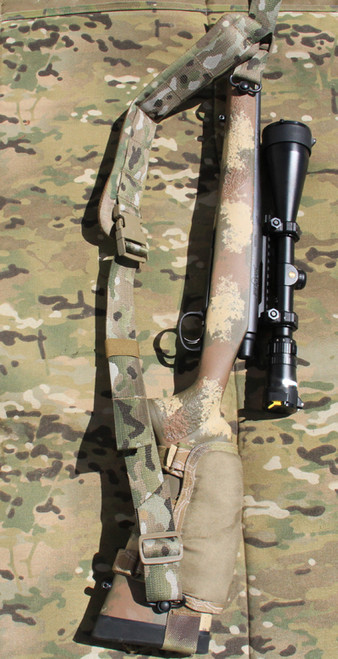
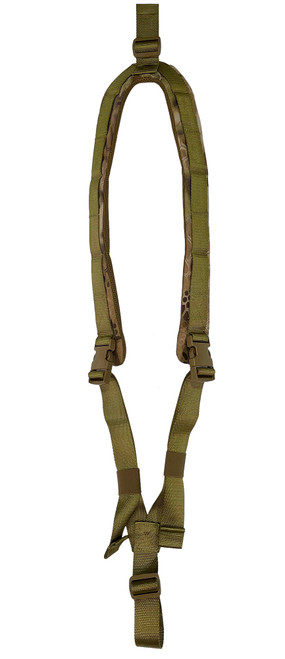
The Mountain Shooter Sling was developed and designed by Brock Markwell. It was developed to fill the need of a simple, functional sling that was quick and easy to get into and out of. The idea of being self-tightening was needed due to a shoulder injury that prohibited the shooter from reaching across with his right arm to pull other types of tactical slings tight around the support or left arm. The Mountain Shooter Sling is constructed out of 1.5” wide nylon webbing, and steel tri-glide buckles, and is sewn using heavy duty nylon thread. The attachment hardware is not sewn into the sling and the hardware can be changed by the shooter to switch between weapon systems. The Mountain Shooter Sling is one of the lightest slings on the market due to the minimum amount of webbing needed and lack of any metal or plastic buckles. The Mountain Shooter Sling has no separate parts to carry or loose. The Mountain Shooter Sling can easily be gotten into or out of using only one hand after a little practice. The Strong hand never has to leave the weapon. The Mountain Shooter Sling is a simple, functional shooting aid for positional shooting and a carry strap. It is made in the USA.
Mountain Shooter Sling Instructions:
1) Attach long portion of sling to the muzzle end sling attachment point.
2) Attach short portion of sling to the attachment point on the butt stock of the weapon.
3) Hold weapon with your dominate hand.
4) Grab sewn tab on sling with your week hand and pull forward toward the muzzle of the weapon to open arm loop.
5) Rotate the sewn tab ½ turn under towards your strong side.
6) Grab open loop with a finger of your strong hand to keep it from sliding down and going closed.
7) Slide sling over weak side arm. Above the bicep muscle if possible or at least above the elbow.
8) Assume your normal sitting or prone shooting position by either going directly to the stock with your week arm or wrapping your weak arm in the sling as in the hasty sling use. The sling material should lay flat against your arm if you choose to wrap your arm in the sling.
9) Adjust the front slide buckle first to custom fit your sling for your shooting position. The sling should be snug around your arm but not tight enough to be uncomfortable.
10) Adjust the rear slide buckle portion of the sling to adjust the carry length and to pull the stock of the rifle into your body while in your shooting position.
Please select your COLOR and ATTACHMENT methods.


